Window tinting is a practical way to enhance your vehicle's appearance while providing numerous benefits. The process begins with a thorough cleaning of the windows, both inside and out, to ensure no dust or debris will be trapped under the film. Pay special attention to the edges and corners, as these areas often harbor hidden dirt that could compromise the installation.
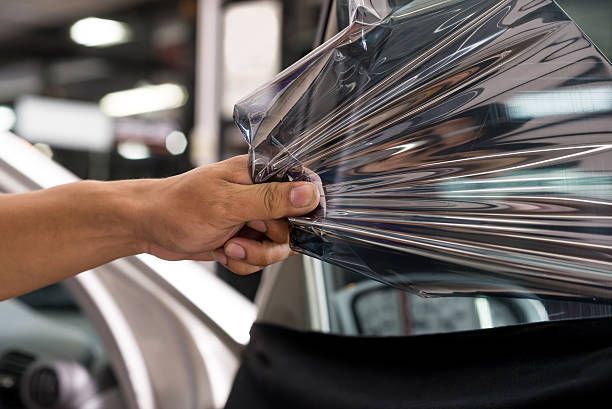
Before starting the installation, gather all necessary tools including a heat gun, squeegee, spray bottle with soapy water, razor blade, and microfiber cloths. The tint film should be cut slightly larger than the window to allow for trimming after application. When working with the film, always handle it carefully to avoid creasing or creating fingerprints. Create a generous mist of soapy water on both the window and the adhesive side of the film – this solution allows you to position the film and remove air bubbles effectively.
Begin applying the film from the top of the window, gradually working your way down while using the squeegee to remove air bubbles and excess water. Patience is crucial during this step, as rushing can lead to wrinkles or trapped bubbles. Pay particular attention to the edges, ensuring they're properly sealed to prevent peeling. Once applied, use the heat gun carefully to help shrink the film and conform it to any curved surfaces. Allow the tint to cure for several days, avoiding rolling down the windows during this time.